Let's talk illustrations! My (Liz) process of creating illustrations goes like this:
Brainstorm
Get frustrated
Brainstorm
Have an idea!
Sketch idea
Brainstorm
Get frustrated
Start drawing idea on tablet/Adobe Illustrator
Handletter text using tablet/Adobe Illustrator
Add color in Adobe Illustrator
Repeat
First, a quick equipment run down that might be useful:
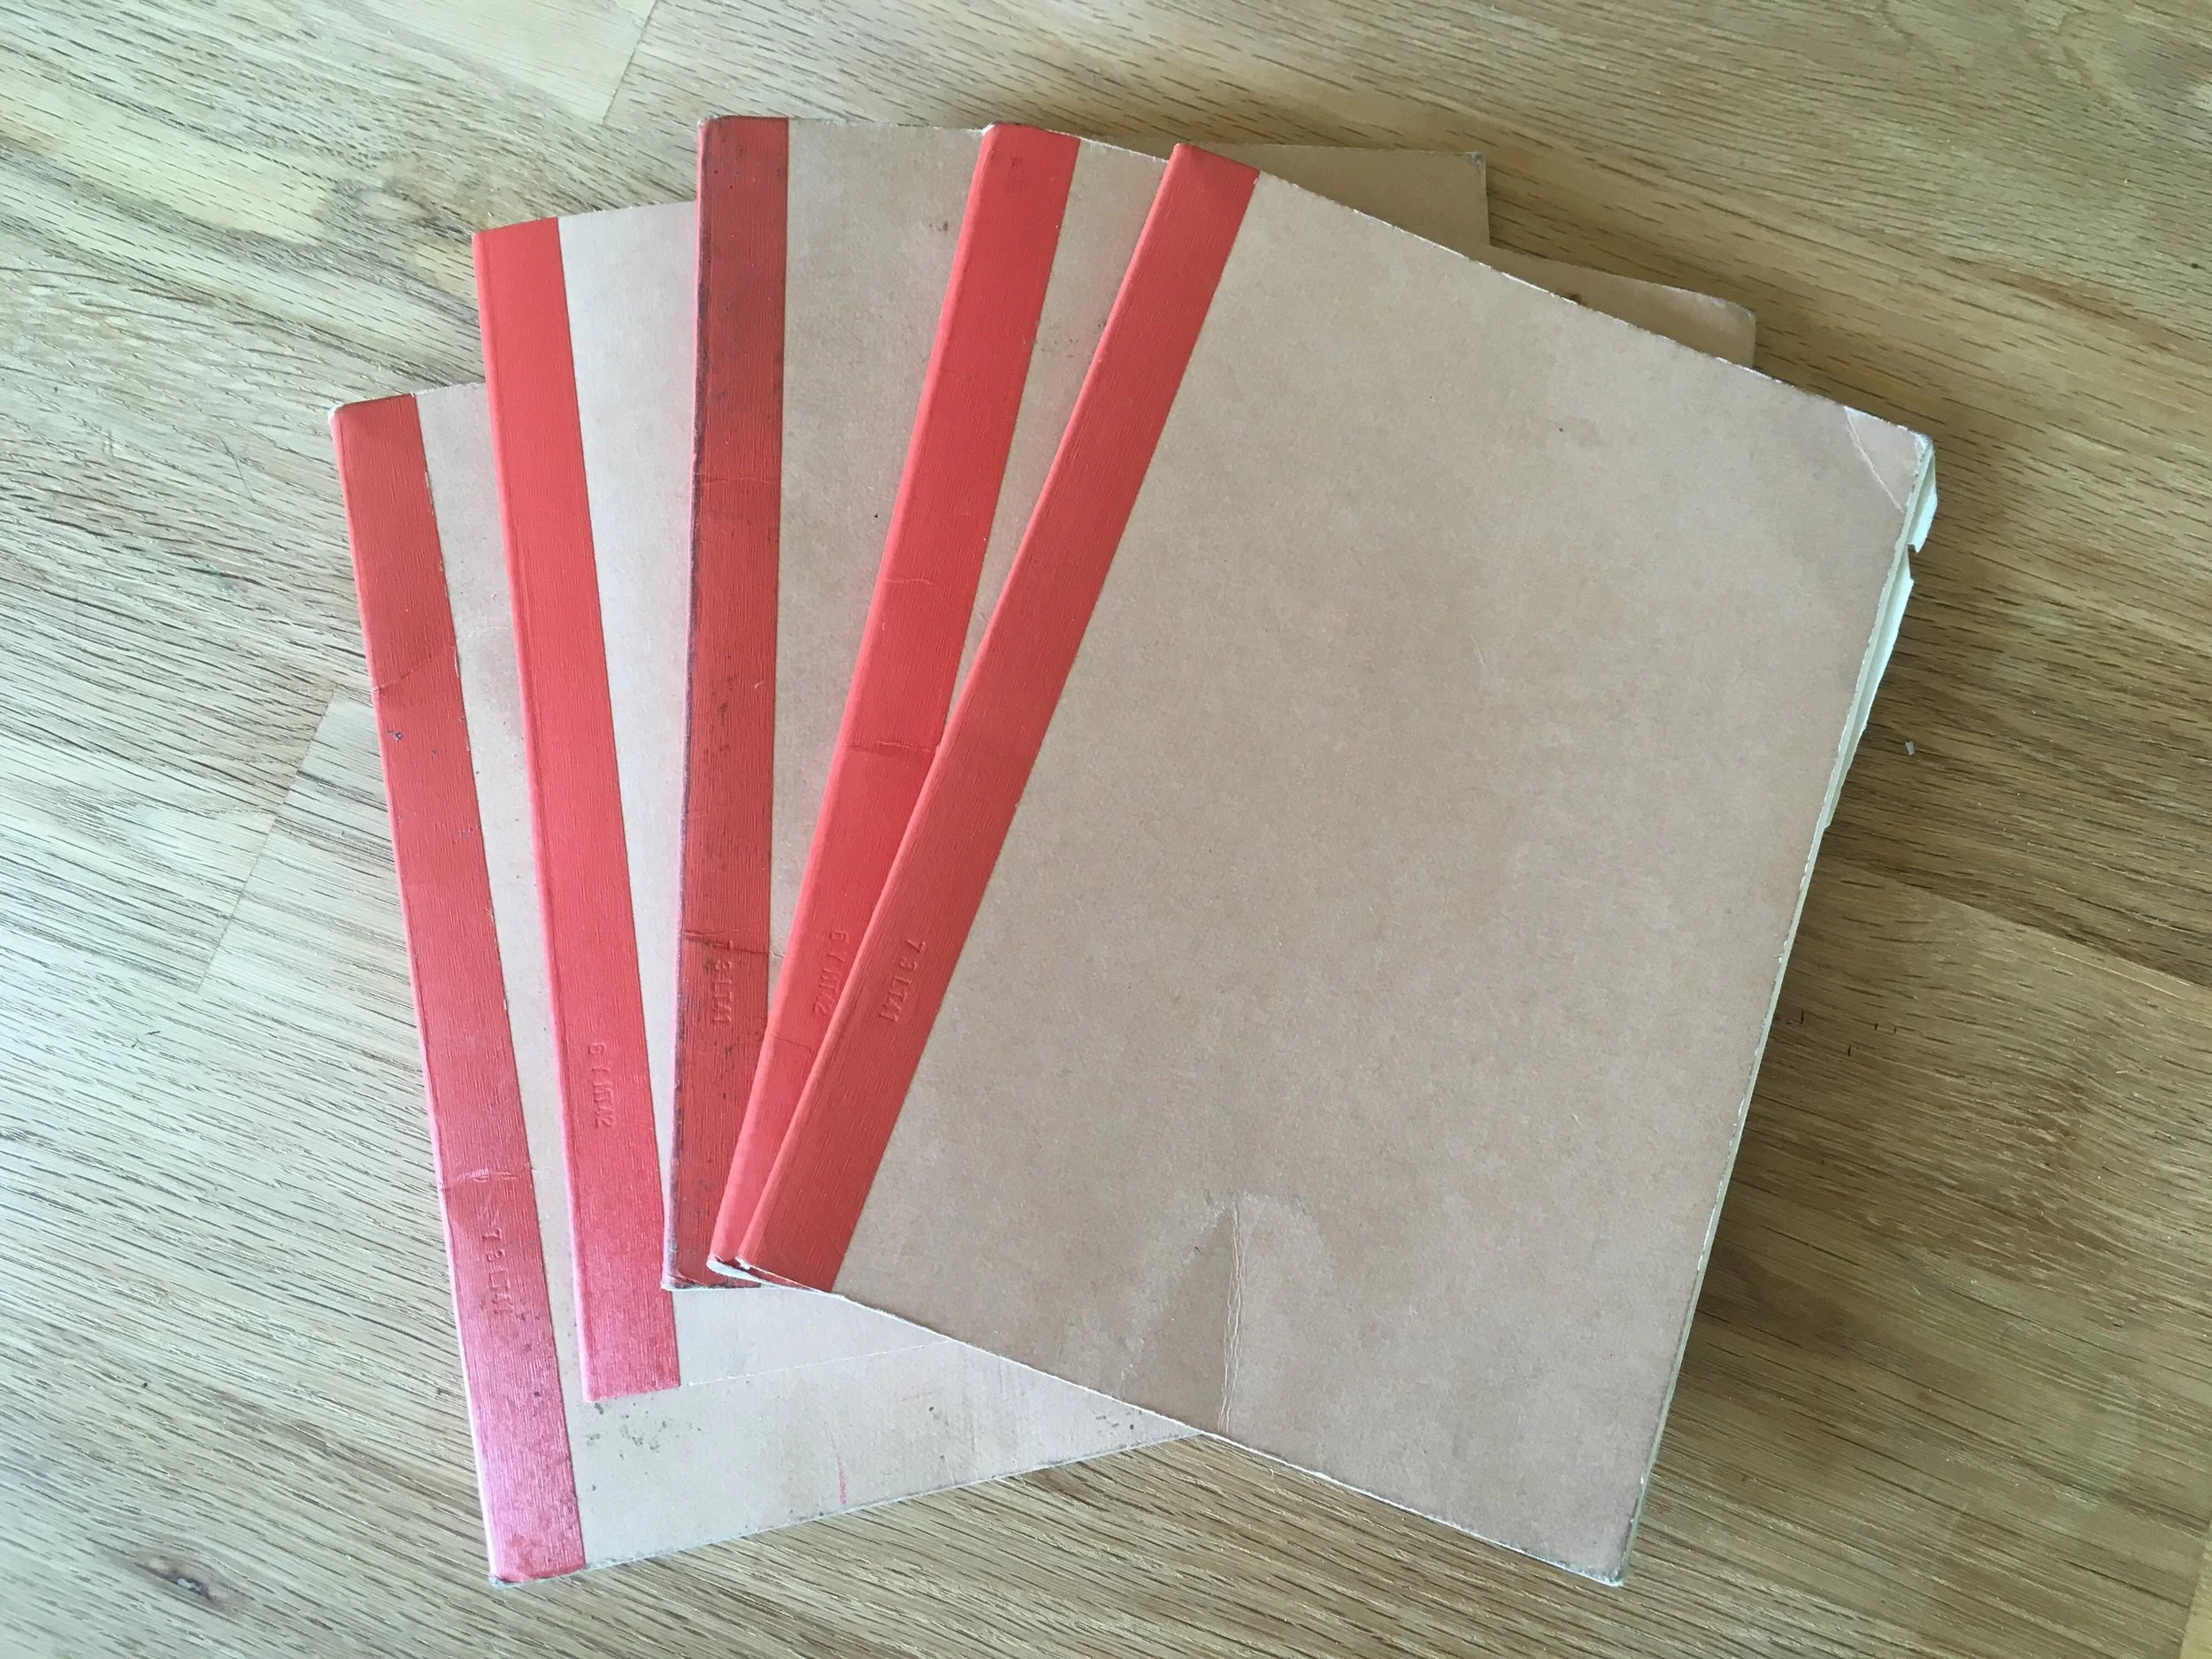
For sketching and note-taking, I use a gel ink pen and blank (unlined) Muji notebooks that I highly recommend. They are light (so you can carry them anywhere) and cheap (so you won't feel bad scrawling over pages). I probably own 20+ of these notebooks. Here are the five currently in my desk drawer.
Muji notebooks
For digital illustrations, I use a Wacom tablet and stylus and the program Adobe Illustrator. I tried to switch to an iPad Pro and the program Procreate recently but I found that you don’t get the same precision that you do in Adobe Illustrator. Here is a photo of my table (with a hand for scale) and an example of how much Adobe Illustrator lets me refine lines.
Wacom table on right
Full image
Zoom in on right eye, the blue squares let me drag the line and make it a perfectly smooth curve. Not possible on iPad!
Back to process. I try to write down every and any idea. Even if I don't have a fully fleshed out concept, I'll write down a phrase or draw a stick figure if it seems like there might be a there there. Here are some particularly early stage notes and sketches:
The first image was something around sleeping on planes, but also meant to help me remember that sleeping people make cute illustrations. The second image reminded me to keep David and Goliath in the mix of potential comic concepts, with Goliath perhaps representing "corrosive emotion." Neither of these ideas made it to a final illustration in the book.
The best days are when an almost-complete comic pops into my mind. Below you can see two examples of sketches of almost-finished ideas and the final versions:
Once I’ve come up with a good concept, I start digitally illustrating it. I first draw the outlines, and then handletter the text. I converted my handwriting into a font at one point, but I feel taking the time to handwrite each word makes for a nicer finished product. Here is an image that is half-illustrated and half-lettered.
If I want to draw on top of an existing image, I’ll draw in pink so I can tell the new stuff apart from the old stuff. You can see this in the image on the bottom left of the illustration above. Then I’ll move the text into the correct spots and start adding color. Here’s a gif of that happening:
You can see here the full “canvas” I work on. In the white square (circled in yellow) is the image I’m currently illustrating. In the gray area all around it are complete or half-finished illustrations. I like having other work accessible so I can quickly drag over a word or copy & paste an element and incorporate it into the in-progress drawing.
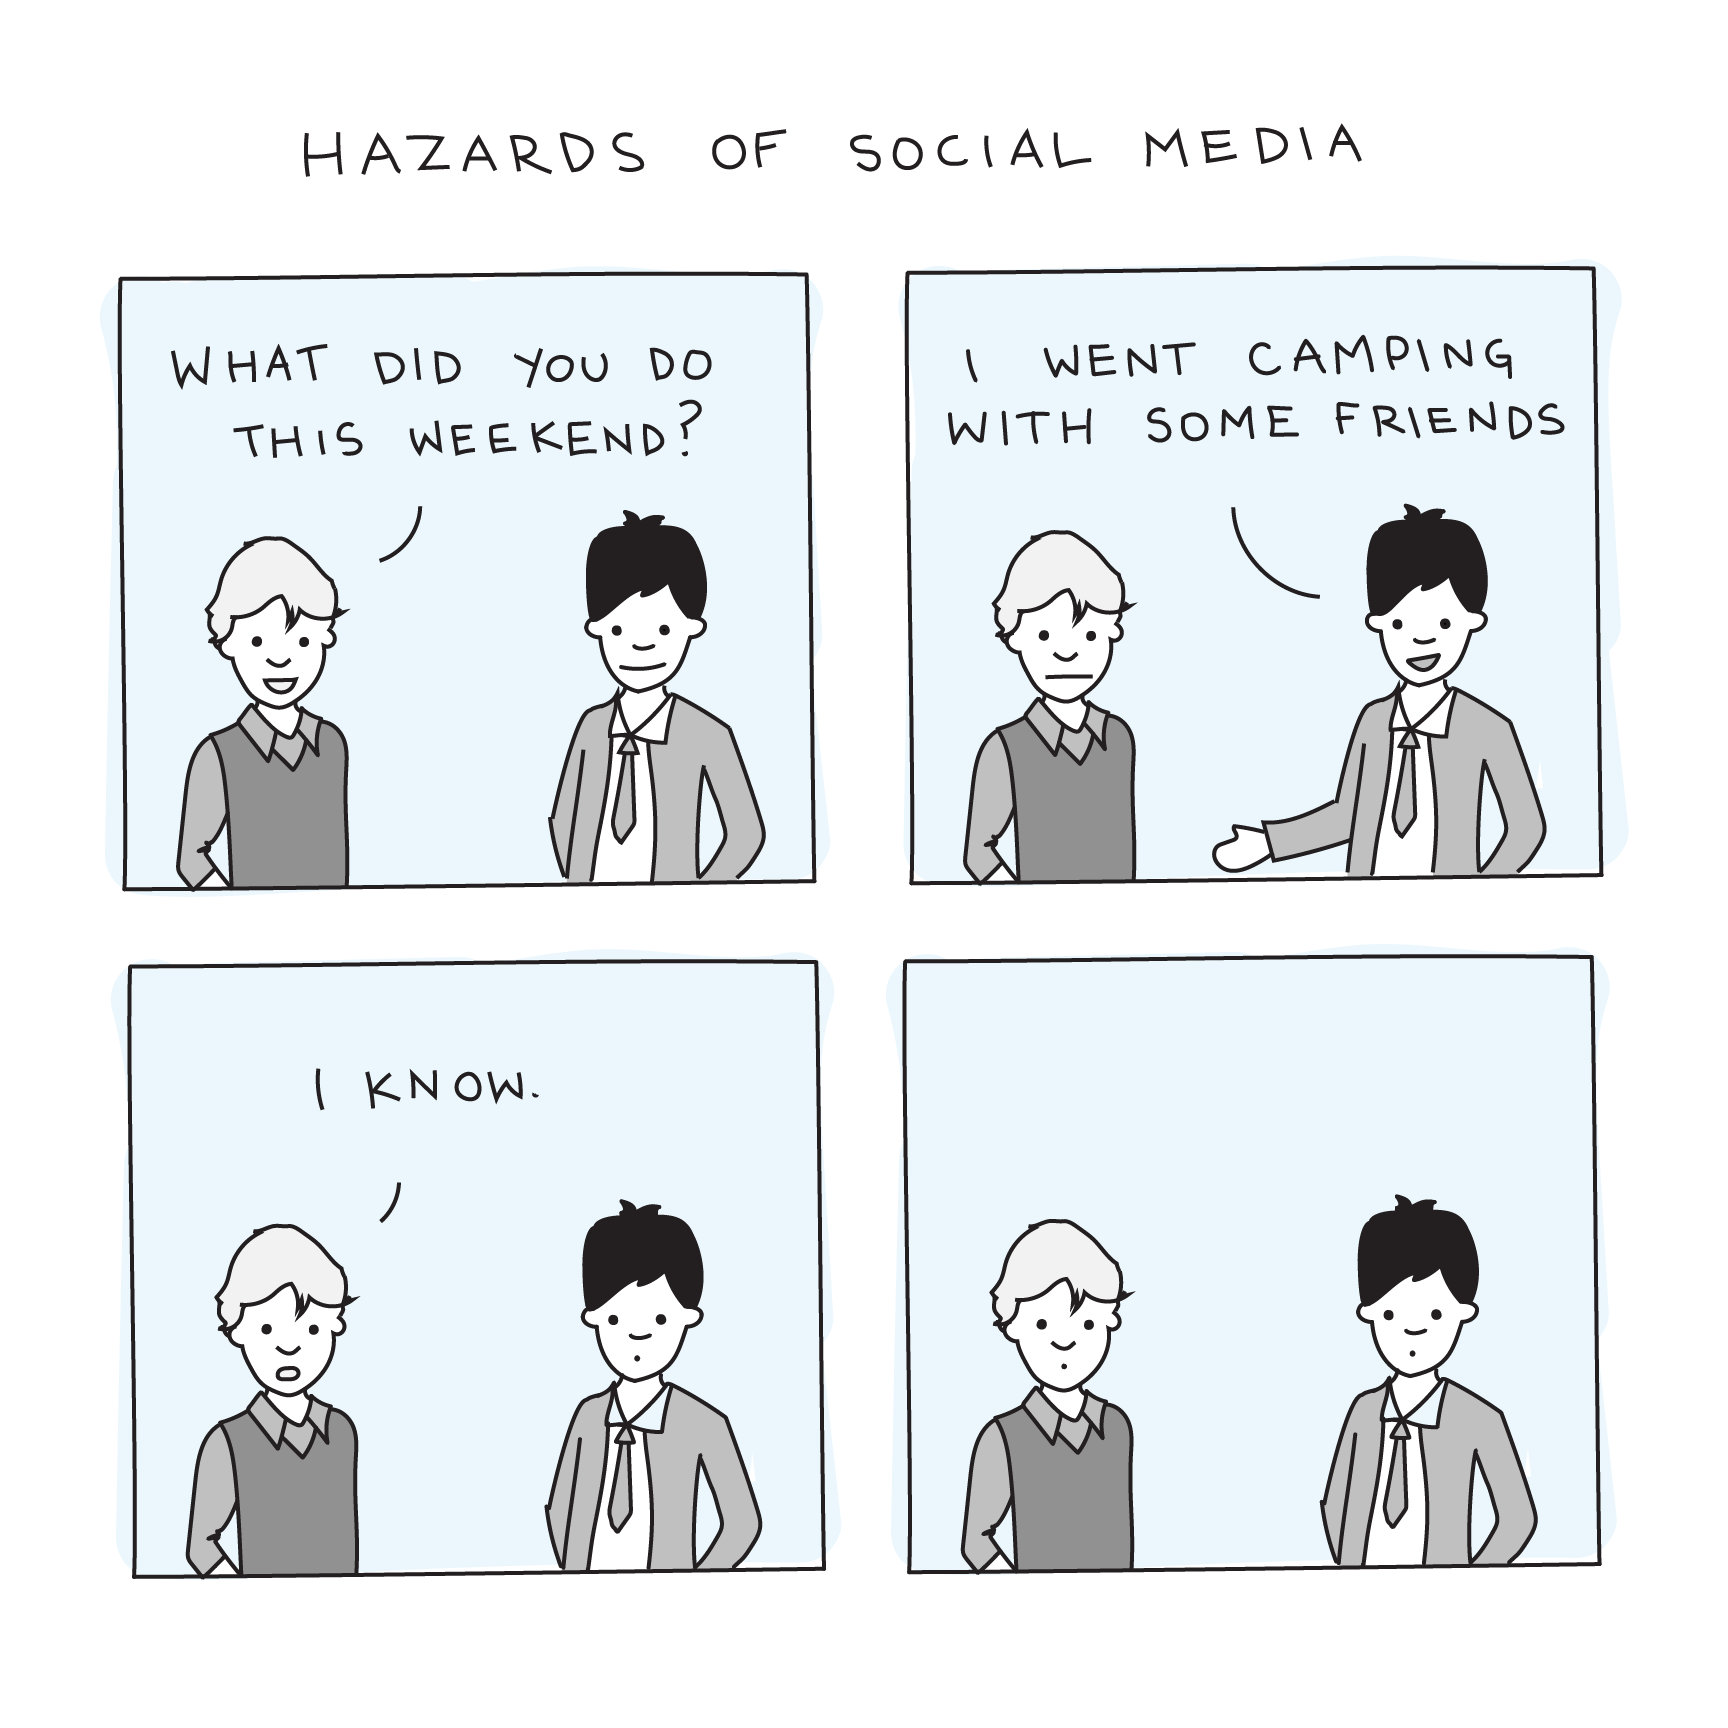
I usually have additional ideas as I’m illustrating, so a comic will evolve quite a bit from initial digital sketching to final version. Here is the final version of the comic in the images above.
When I'm converting a sketch to a digital drawing, I'll often create slight variations on the same theme and ask Mollie and other friends to pick which version they like the best. Here are two versions of the same comic idea:
So that's the basics of it! To my fellow illustrators out there: what tools do you use? Share in the comments!


